🚀 Step-by-Step Guide to Using Astria AI for Hyper-Realistic Clone Creation
Creating a hyper-realistic clone of yourself using advanced AI tools is now more accessible than ever. With Astria AI and a simple workflow, you can generate a digital twin that can be used in multiple styles and scenarios, from cinematic renders to anime and comic book styles. In this tutorial, we’ll walk you through each step to ensure a smooth and seamless experience.
Why Create a Hyper-Realistic Clone?
The ability to create a digital avatar or clone of yourself opens up limitless possibilities for content creation, marketing, or just fun. Whether you need a consistent avatar for a virtual environment, digital marketing materials, or even creative projects, AI-generated clones are a game-changer.
Step-by-Step Tutorial
Step 1: Create an Account on Astria AI
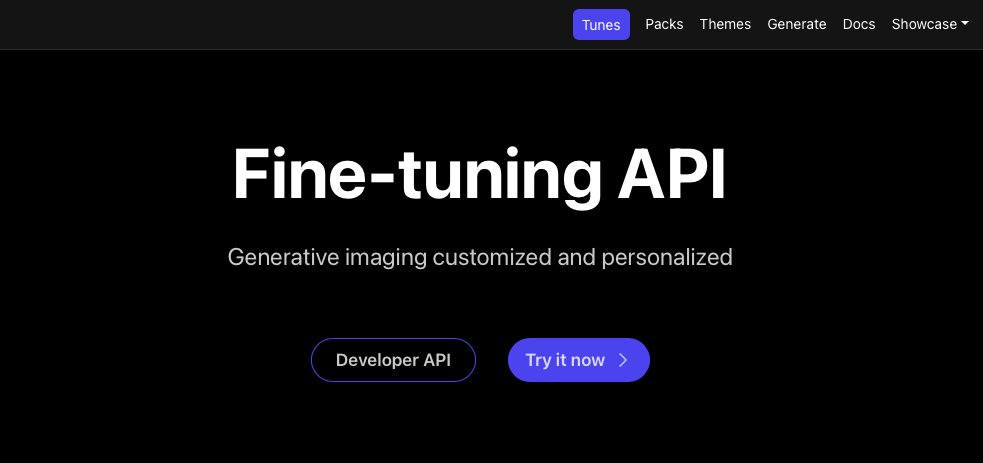
Astria AI is a specialized AI platform that allows users to fine-tune LoRA (Low-Rank Adaptation) models, which is crucial for maintaining character consistency and realism. Start by heading to Astria AI and creating your account.
- Visit the website and sign up with your email.
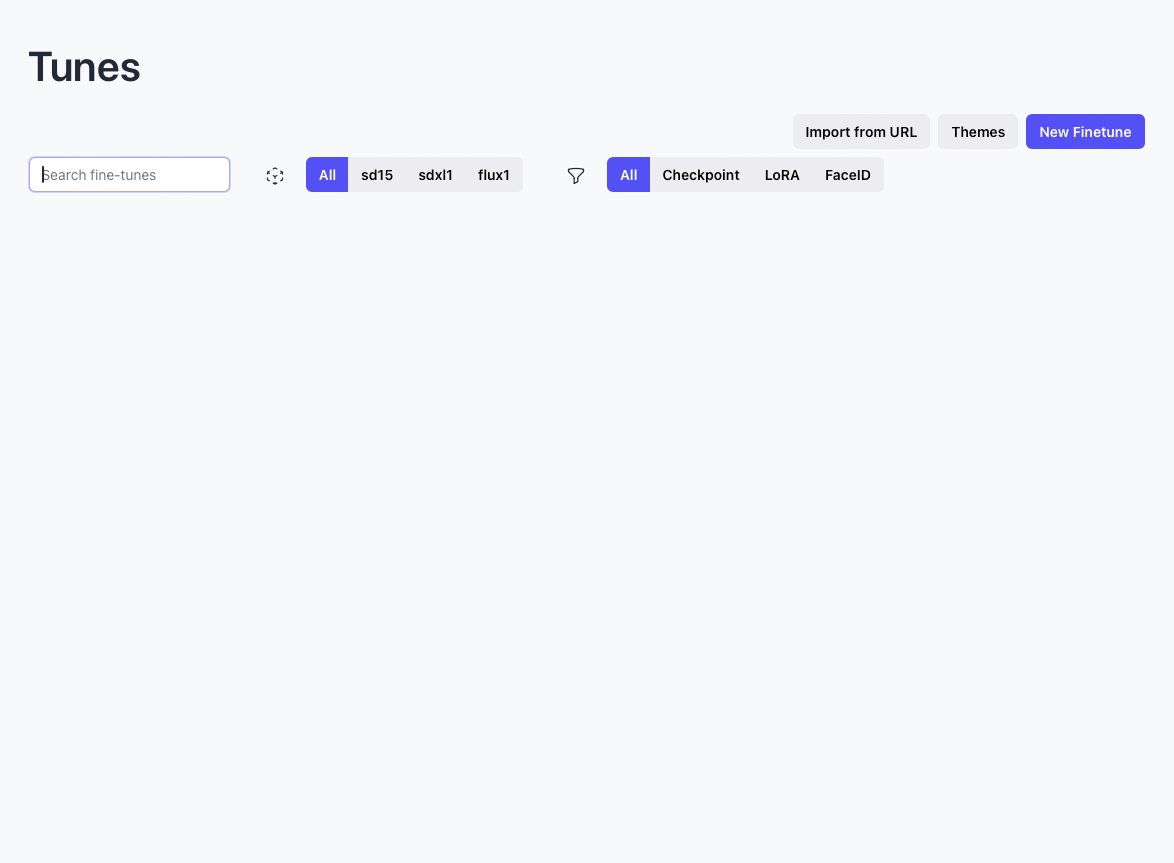
- Once registered, navigate to your dashboard to start the cloning process.
Tip: Ensure that you use high-quality images for the best results.
Step 2: Fine-Tune a Flux DEV LoRA Model
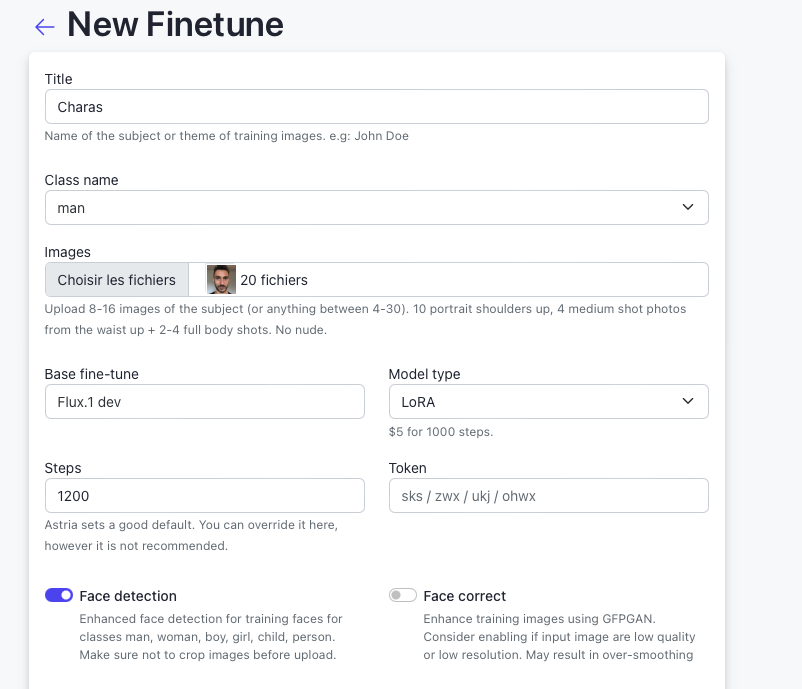
Astria AI allows you to fine-tune a Flux DEV LoRA model, a process that helps maintain realism in character or object rendering.
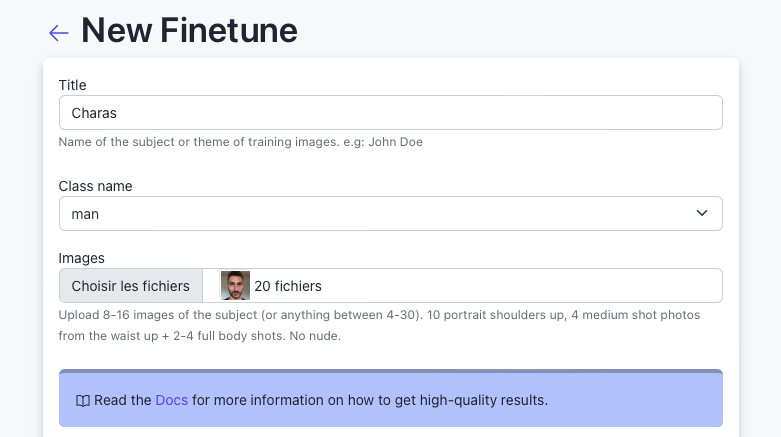
- In the Astria dashboard, click on the "New Finetune" button.
- You'll be prompted to title your project (this can be your name or the name of the object).
- Choose a Class name that describes your project. For instance, if you're creating a personal clone, simply name it something like "Person."
Step 3: Upload Your Photos
To get started, upload a collection of photos. For the AI model to deliver hyper-realistic results, you’ll need to upload at least 15 different images of yourself or the object you want to replicate. These should include:
- Front-facing images
- Side profiles
- Full body shots
- Different facial expressions and angles
Note: The more varied and high-quality your images are, the better the final result will be. Aim for consistent lighting across all images to avoid unexpected variations.
Step 4: Advanced Settings Configuration
Astria AI comes pre-configured with optimal settings for most users, but you have the option to customize certain parameters, such as the number of steps. The number of steps refers to how many times the AI model processes and refines the images.
- Set steps between 1000 and 1400 for excellent results.
- More steps mean higher detail but longer processing time.
Expert Tip: If you're an advanced user, you can play around with these settings for highly customized outputs, but for most purposes, the default settings work well.
Step 5: Finetune the Model (1-2 Hours)
Once you’ve uploaded your images and configured the settings, the next step is to fine-tune the Flux DEV LoRA model. This process usually takes around 1 to 2 hours to complete and costs roughly $5.
- After fine-tuning, input your desired prompts.
- Select your usual settings like image size, number of images you want to generate, and style preferences (more on this below).
Step 6: Choose a Render Style
Astria AI offers a range of styles for your clone, allowing you to place it in various creative contexts. Some of the popular styles include:
- Anime Style: Perfect for animated videos or artwork.
- Cinematic Style: Great for short films, digital ads, or video content.
- Comic Book Style: Ideal for unique illustrations or storytelling.
Once the fine-tuning process is complete, you can directly select the style you want for your clone. This opens up opportunities to experiment with different looks and creative formats.
Tip: If you want consistency across multiple projects, choose one style and stick with it. This will give you a unified visual identity.
Step 7: Generate Your Hyper-Realistic Clone
With the fine-tuning complete and the style selected, you can now generate your hyper-realistic clone. The output can be a single image or multiple images depending on how many versions you want.
- Input your prompt (for example: "Generate a full-body anime version of my clone").
- Set the number of images you want.
- Hit "Generate."
You will now have a clone of yourself rendered in various styles that can be used across different projects, whether for content creation, marketing, or personal use.
Use Cases for Your Clone
Now that you’ve successfully created a digital clone, here are some ideas on how you can use it:
- Virtual Avatars: Perfect for virtual meetings, gaming, or online events.
- Digital Marketing: Use your clone in advertisements, branding, or product demos.
- Content Creation: Create videos, illustrations, or graphic novels featuring your clone.
- Personal Projects: Build fun, artistic content like posters, wallpapers, or social media posts featuring your AI avatar.
Final Thoughts
With Astria AI, creating a hyper-realistic clone of yourself is no longer a complex task reserved for experts. By following these easy steps, you can have your own digital twin ready to be used across various styles and platforms in no time.
For best results, ensure that you use high-quality images, carefully fine-tune the settings, and choose a consistent style that aligns with your creative vision.
Ready to create your clone? Head over to Astria AI and start your journey today!
FAQs
-
How long does it take to create a clone?
The entire process, from uploading images to generating the final clone, usually takes about 1-2 hours. -
How much does it cost?
Fine-tuning a Flux DEV LoRA model typically costs around $5. -
What types of images work best?
Clear, well-lit photos from different angles with consistent lighting will produce the best results. -
Can I use this for commercial projects?
Yes, once you’ve created your clone, you can use it for commercial or personal projects.


